


Hey everyone, I hope you all are having a healthy and safe winter. It has been super chilly here in Southern Ohio. I can't complain because I just got back from Florida;however, while I was there I caught the bug...the flu bug. For the past week I have been stuck inside, glued to my couch. During that time, I had to entertain myself somehow, so I did a lot of research... baking research that is. I don't know what it is, but ever since I got my kitchen aid I have been a baking fool. It's a lot of work, but it's almost like therapy for me. I discovered a lot of baking tricks to improve my cake game. As soon as my fever broke, I was in the kitchen testing away. By no means am I a professional, so take these tips for what they are worth; however, I found them very helpful. I feel like my cake baking game has improved, and I want to share with you all these tricks. If you know them already, great...if not let's get started!

I definitely think the most difficult park of making a cake is the baking. It is so crucial to follow every step and quirky direction. Before I learned cooking was different than baking, I tried to get by with adding my own flare and doing what I wanted when it came to baking. You just can't do that. FOLLOW THE RECIPE WORD FOR WORD, and usually your cake will turn out alright.
TIP 1: Unsalted butter VS. Salted butter
Some cake recipes don't clarify if you should use unsalted or salted butter. Others usually say unsalted. For this particular cake recipe (I made Devil's Food Cake) it called for unsalted. Oh shoot, guess what, darn. I didn't have unsalted but I did, however, have salted. So I asked myself, "Do I risk using salted butter, or make a 25 minute trip to the store?" I took the lazy way out and just used the dang salted butter. I did some research and was advised to skip adding the salt in my cake because the salted butter will add enough. The cake turned out just as moist and yummy as it usually does. If you're unable to go to the store for unsalted butter, just use salted. It works.
Tip 2: Get Rid of Those Tough Edges
I have a pretty old oven, so my cake doesn't always bake evenly. Usually I am left with a moist center and tough edges. If you have this problem, I have the answer. Begin with lowering the heat of the oven by 25 degrees. This will allow the cake to bake longer and more even. Now, I don't exactly know how this works, but it totally does. If you are making a light colored cake take 1/4 cup of flour and sift it onto your prepared baking pan. If you are making a dark cake just take 1/4 cup of cocoa and do the same. I think it's magic. My Devil's Food Cake turned out moist and was evenly baked.
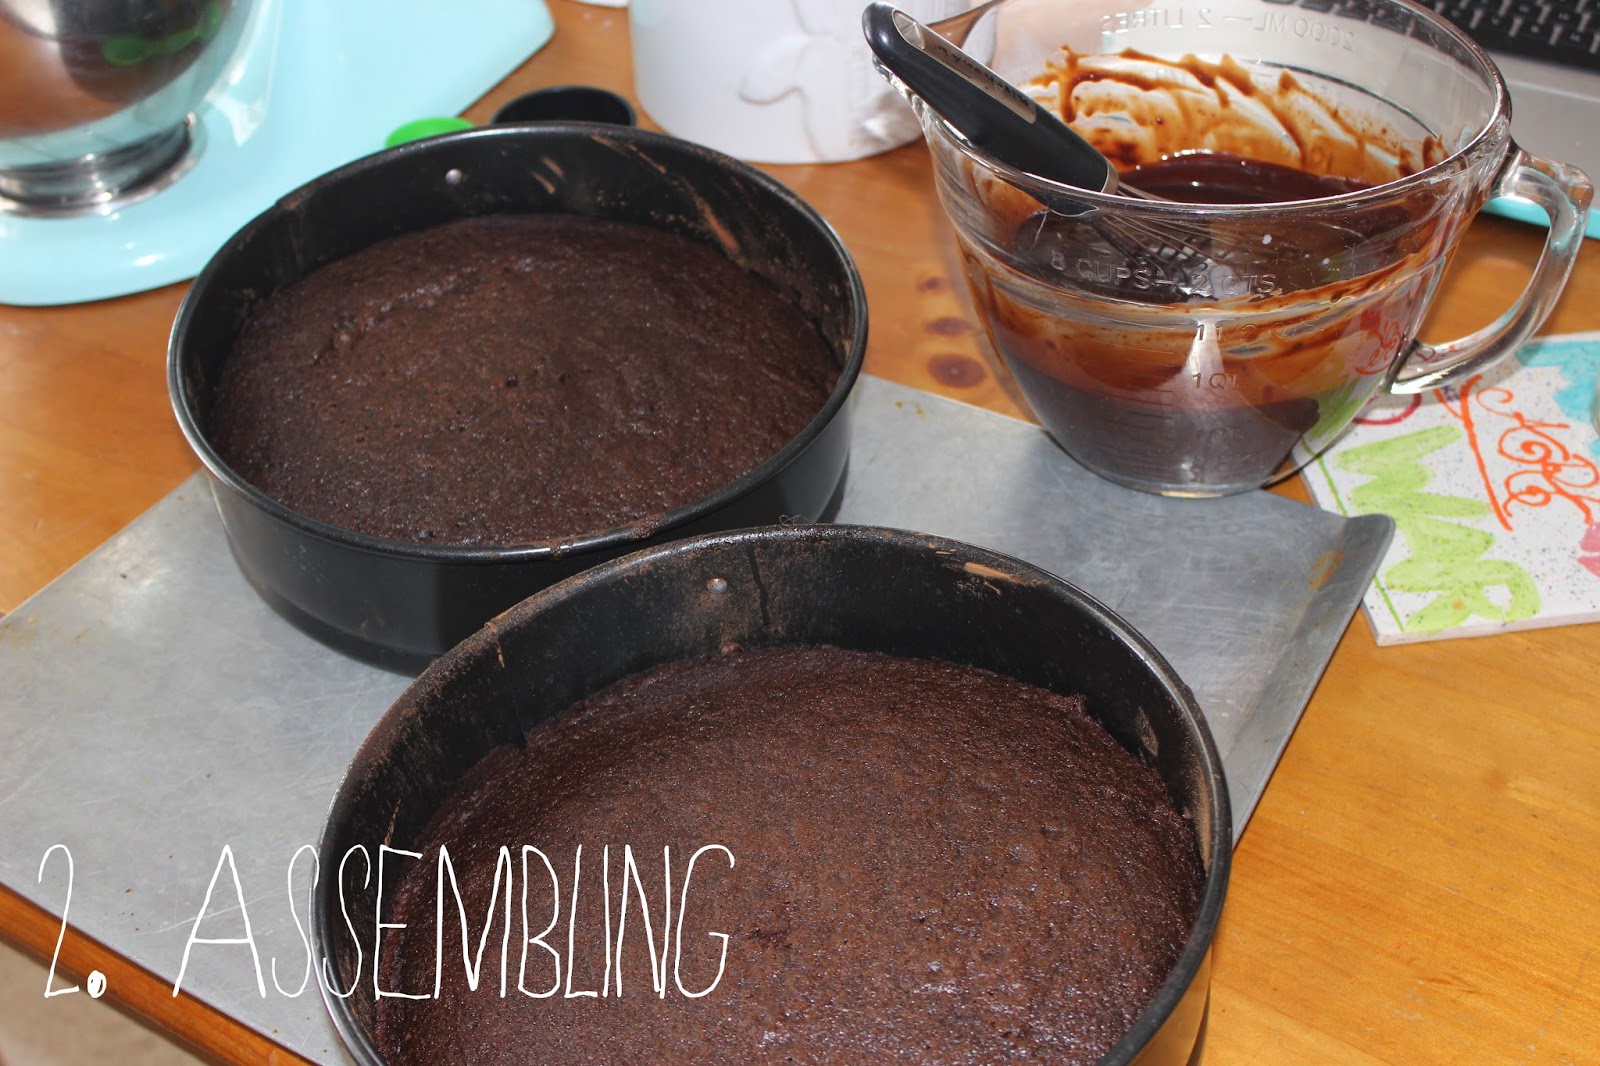
Assembling is also pretty tricky, well, I guess every park of baking is pretty tricky. I have a few obvious tips that will hopefully help.
Tip 3: Cool that Cake
Do not mess with your cake right out of the oven. If you do, you are doomed. At least wait 20-25 minutes before removing your cake from the pan. From there wait, a couple of hours before going any further. Dealing with a warm cake will leave you with a crumbly mess. Trust me, I have been there.
Tip 4: Cut that Cake, baby
Once your cake is cooled you can begin carving it. Take a serrated knife and gently cut the top dome of of your cake. This will make things even and easier to assemble. When it comes to layers, I am not a pro. If you want a layered cake just take your knife and in the middle of one cake, rotate and outline the carving line. Then go in and make the final cut. Be very gentle, especially if your cake is thin.

Now, let's make the cake look pretty. This is the hardest part for me because you have to have patients...something I wasn't exactly blessed with.
Tip 5: Crumb Coating
Crumb coating is something I recently discovered that has really been helpful. Basically what Crumb coating does is it makes a good base for the rest of your icing. Take your first layer of cake and about 1/4 cup of your icing. Use a cake spatula to evenly smooth out the icing. It doesn't have to be perfect, and you don't have to cover the edges. Then take your next cake layer, for me it is the final layer but you can use however many layers you want, and do the same thing going over the edges. Once your have has a thin layer of icing, pop it in the fridge for 15-20 minutes.

As you can see, it doesn't look the best, but it really gives a good base for your final icing and decorating.
Tip 6: Use the Right Tools
I use to think you didn't need the fancy scrapers and spatulas for baking a simple cake, but I was wrong. If you want to make your cake look halfway decent, do your research and find some good cake tools.

Recently I purchased an Angled Icing Spatula from Amazon for like 8 bucks. IT MADE ALL THE DIFFERENCE. It was so easy to smooth out my icing with this baby. I recommend investing in more than one of these suckers.
Tip 7: Use a Toothpick
I always have to sketch out an idea before I make the final product. Whenever I decorate a cake I usually get frustrated because things aren't lined up correctly. It's an easy fix. Just take a toothpick and lightly outline or draw any design you want.

There you have it! Just a few basic tips I discovered recently. They really helped me and made my cake baking experience more enjoyable. If you have any baking tips please share them with me, and if you found these helpful let me know. Enjoy your yummy cake!
-AbbeyShae

Links:
Devil's Food Cake recipe: Luara Vitale Recipe
Cake Spatula: http://www.amazon.com/gp/product/B00F0A6FYU/ref=pd_lpo_sbs_dp_ss_1?pf_rd_p=1944687542&pf_rd_s=lpo-top-stripe-1&pf_rd_t=201&pf_rd_i=B000FUM8F0&pf_rd_m=ATVPDKIKX0DER&pf_rd_r=1CR13JYXGB5THH35Q0C1
Watch my latest cover with my sister: Music Video (:


